DIY Indoor Climbers and Slides
Are you looking for a fun and creative way to encourage your child's physical development and imagination? Look no further! In this article, we'll show you how to create your own DIY indoor climbers and slides that will provide hours of entertainment for your little ones.
Key Takeaways
- Benefits of indoor climbers and slides for toddlers and young children
- Materials and tools needed for DIY projects
- Step-by-step guide to creating indoor climbers and slides
- Safety considerations and tips for a fun and safe play area
Why DIY Indoor Climbers and Slides?
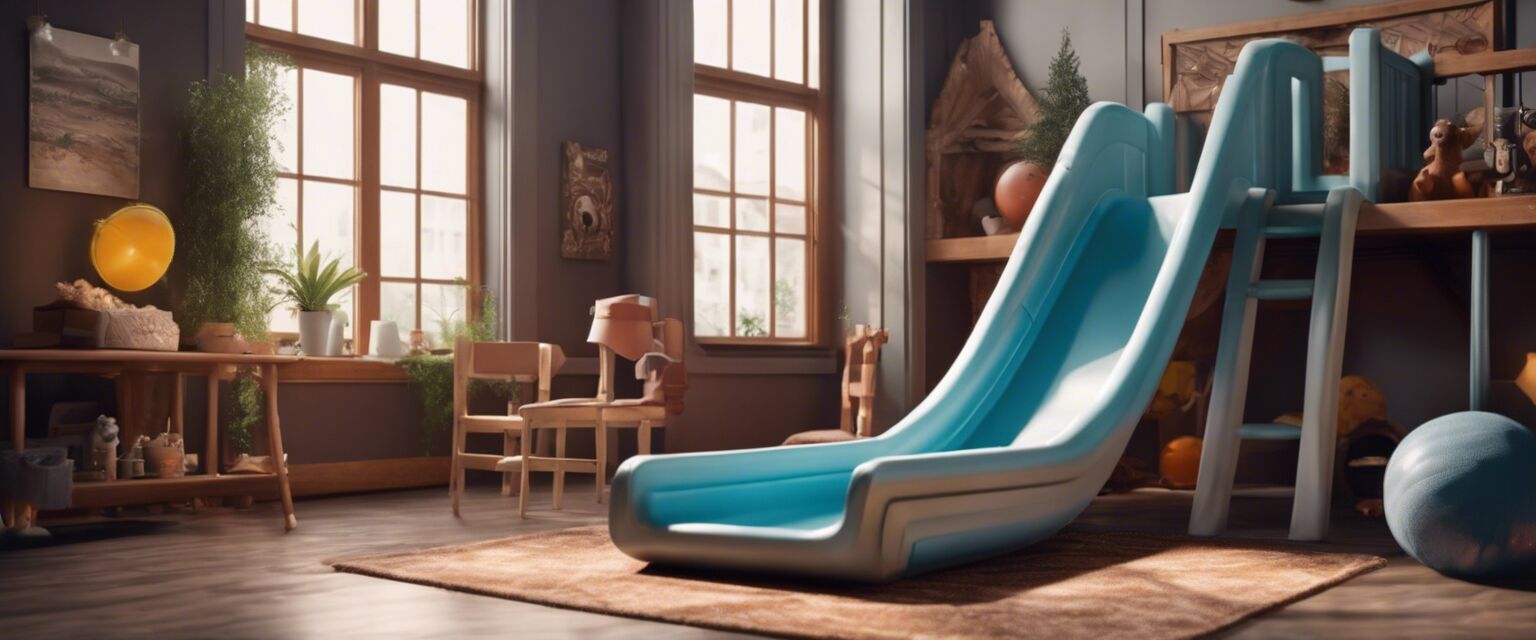
Indoor climbers and slides are an excellent way to encourage physical activity, improve gross motor skills, and foster imagination and creativity in toddlers and young children. They also provide a fun and safe way for kids to burn off energy, especially during rainy or cold weather.
By creating your own DIY indoor climbers and slides, you can:
- Save money compared to buying commercial products
- Customize the design and size to fit your home and child's needs
- Encourage creativity and imagination in your child
- Develop a sense of accomplishment and pride in creating something with your own hands
Materials and Tools Needed
Before you start your DIY project, make sure you have the following materials and tools:
| Materials | Tools |
|---|---|
| Lumber (e.g., plywood, 2x4s) | Circular saw |
| Screws and nails | Drill |
| Fabric or carpet for slide surfaces | Measuring tape |
| Soft padding for landing areas | Hammer |
| Ropes or climbing nets (optional) | Safety glasses |
Step-by-Step Guide to Creating Indoor Climbers and Slides
Here's a basic guide to creating a simple indoor climber and slide:
- Plan your design: Decide on the type of climber or slide you want to create, considering the age and skill level of your child.
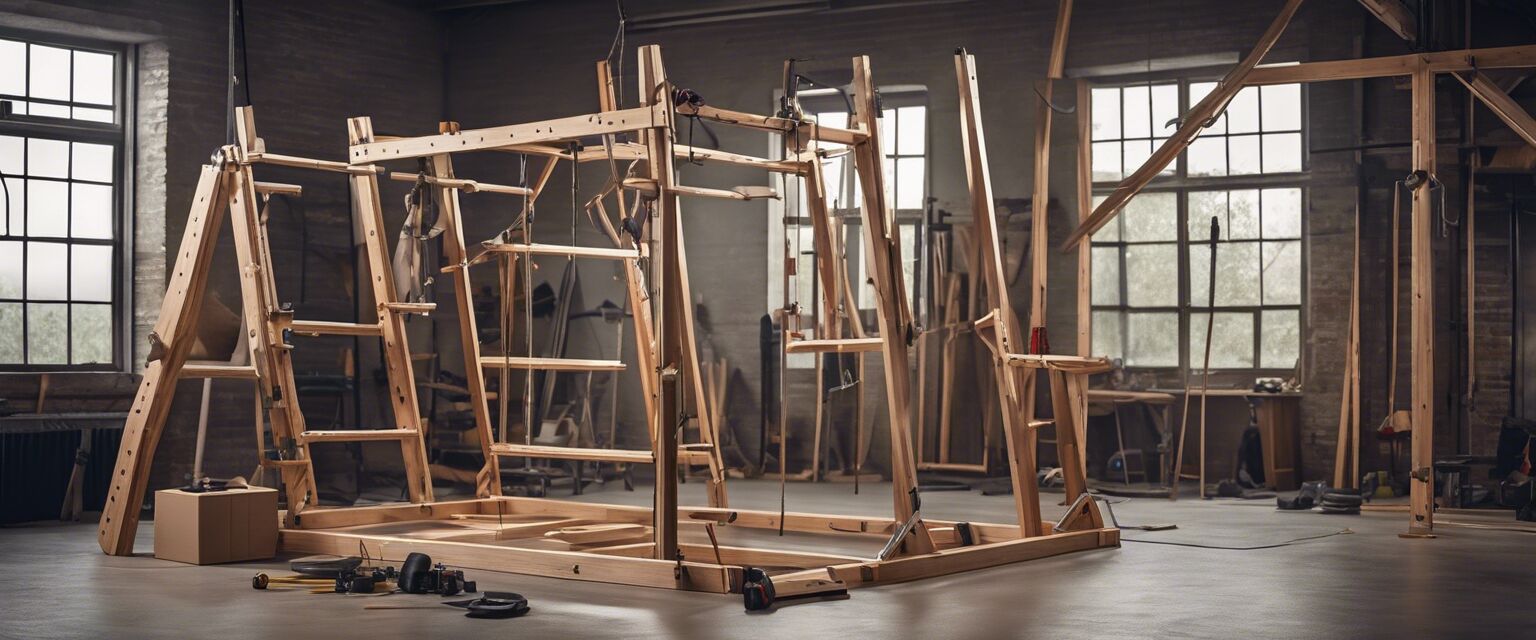
- Cut and assemble the frame: Use lumber to create the frame of your climber or slide, using screws and nails to secure the pieces.
- Add surfaces and features: Attach fabric or carpet to the slide surfaces, and add ropes or climbing nets for added challenge and fun.
- Add soft landing areas: Use soft padding to create safe landing areas for your child.
- Install and test: Assemble the climber or slide in your desired location, and test it to ensure stability and safety.
Safety Considerations and Tips
When creating your DIY indoor climber and slide, remember to:
- Supervise children at all times during play
- Ensure the structure is stable and securely anchored to the floor or wall
- Use soft padding for landing areas and surfaces
- Regularly inspect and maintain the structure to prevent wear and tear
- Consider adding safety features, such as gates or barriers, to prevent falls
Pros
- Cost-effective compared to commercial products
- Customizable design and size
- Encourages physical activity and imagination
- Fosters sense of accomplishment and pride
Cons
- Requires time and effort to design and build
- May require additional safety features and maintenance
- May not be suitable for very young children or those with special needs
Conclusion
Creating your own DIY indoor climbers and slides can be a fun and rewarding project that provides hours of entertainment for your child. With the right materials and tools, and some basic planning and construction skills, you can create a safe and engaging play area that encourages physical activity and imagination.
For more ideas and inspiration, be sure to check out our Climbing Structures and Indoor Slides product categories.